reduce file size

How to Reduce File Size Without Losing Quality (Images, Videos & PDFs)

0

Large files can be a real problem.

You try to upload → too big
You try to send → fails
You compress → quality drops

Most people think:

👉 Smaller file = worse quality

But that’s not always true.

With the right method, you can reduce file size significantly while keeping quality almost identical.

This guide will show you how to do it properly for images, videos, and PDFs.


Why Files Become Too Large

Files get big because of:

  • High resolution
  • Unoptimized formats
  • Excess metadata
  • Inefficient compression

The goal is not just to shrink files—but to optimize them.


Step 1: Choose the Right File Format

Format matters more than anything.

Images:

  • Use JPG → smaller size (good for photos)
  • Use PNG → better quality (but larger)
  • Use WebP → best balance (small + high quality)

👉 If possible → convert to WebP


Videos:

  • Use MP4 (H.264 or H.265)
    👉 Best balance of size and quality

Avoid:

  • AVI (too large)
  • Uncompressed formats

PDFs:

  • Use optimized PDF instead of scanned images
  • Remove unnecessary elements

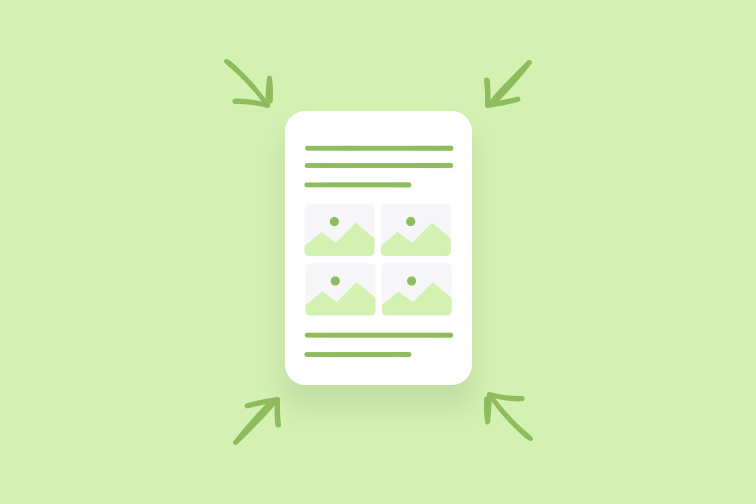
Step 2: Resize Instead of Compressing

Most people compress files—but resizing is smarter.

Example:

  • Image: 4000px → reduce to 1920px
    👉 Huge size reduction, almost no visible quality loss

Step 3: Use Smart Compression Tools

Use tools designed for optimization:

Images:

Videos:

PDFs:

👉 These tools reduce size while preserving quality.


Step 4: Adjust Quality Settings Properly

When exporting or compressing:

  • Images → 80–90% quality (best balance)
  • Video → high bitrate (don’t go too low)
  • PDF → medium compression

👉 Avoid “maximum compression”


Step 5: Remove Metadata

Files often contain hidden data:

  • Camera info
  • Location
  • Editing history

Removing metadata can reduce size slightly.


Step 6: Convert Instead of Compressing

Sometimes converting is better than compressing.

Example:

  • PNG → JPG
  • JPG → WebP
  • MOV → MP4

👉 Same quality, much smaller size.


Step 7: Compress Multiple Files into ZIP

If sending multiple files:

👉 Use ZIP

Benefits:

  • Cleaner
  • Slight size reduction
  • Easier to share

Step 8: Optimize Videos Properly

Videos are the biggest files.

To reduce size:

  • Lower resolution slightly (4K → 1080p)
  • Use H.264 / H.265
  • Reduce bitrate carefully

👉 You can cut size by 50–80% easily.


Step 9: Preview Before Final Use

Always check:

  • Image clarity
  • Video quality
  • PDF readability

👉 If quality drops too much → adjust settings.


Step 10: Build a Simple Workflow

Instead of guessing every time:

👉 Use this system:

  • Choose correct format
  • Resize if needed
  • Compress with tool
  • Preview
  • Share

Common Mistakes to Avoid

  • Over-compressing files
  • Using wrong formats
  • Ignoring resolution
  • Compressing multiple times
  • Not checking output quality

Quick Fix (Fast Method)

If you’re in a rush:

  • Image → TinyPNG
  • Video → HandBrake preset
  • PDF → Smallpdf compress

👉 Done in minutes.


Final Thoughts

Reducing file size doesn’t mean sacrificing quality. With the right approach—choosing the correct format, resizing intelligently, and using proper tools—you can make files smaller while keeping them clear and professional.

Once you understand these basics, you’ll never struggle with file size limits again.

Leave a Reply