file sharing

How to Share Files Safely Online (Without Risking Privacy or Access Issues)

0

Sharing files online seems simple—until something goes wrong.

Maybe:

  • The recipient can’t open the file
  • The link stops working
  • The wrong person gets access
  • Sensitive files become publicly visible

These mistakes happen more often than people think.

The problem usually isn’t the file itself—

👉 It’s how the file is being shared

This guide will show you how to share files online safely, professionally, and without common mistakes.


Why Safe File Sharing Matters

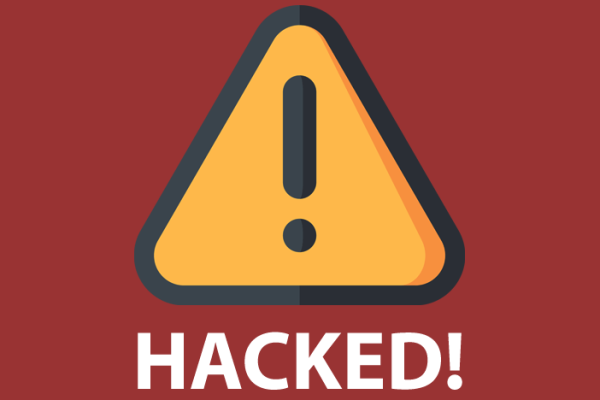
Poor file sharing habits can lead to:

  • Privacy leaks
  • Broken permissions
  • Lost files
  • Confusion for recipients
  • Security risks

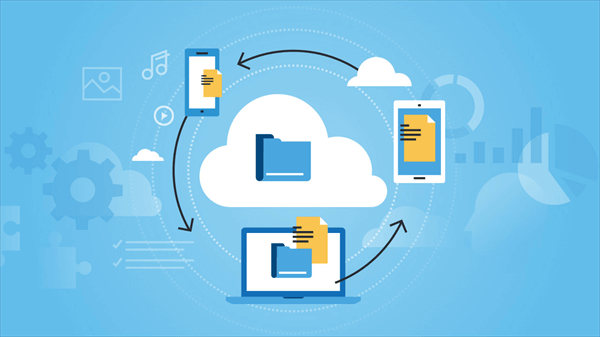
Whether you’re sharing personal documents or work files, using the right process matters.


Step 1: Choose the Right Sharing Method

Different situations require different tools.

Best options:

  • Cloud storage links → Google Drive, Dropbox, OneDrive
  • Direct email attachment → Small files only
  • Transfer services → Large temporary files

👉 Don’t use one method for everything.


Step 2: Use Cloud Links Instead of Attachments (When Possible)

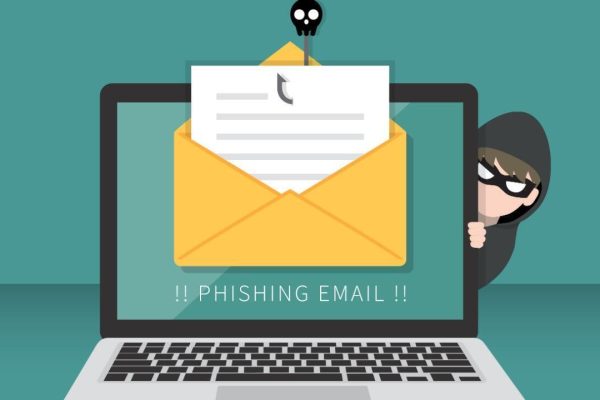
Sending attachments directly can create:

  • Multiple versions
  • Size issues
  • Inbox clutter

Better approach:

  1. Upload file to cloud storage
  2. Generate share link
  3. Send link

Benefits:

  • Easier to update file
  • No attachment size limit
  • Cleaner workflow

Step 3: Set Proper Permissions

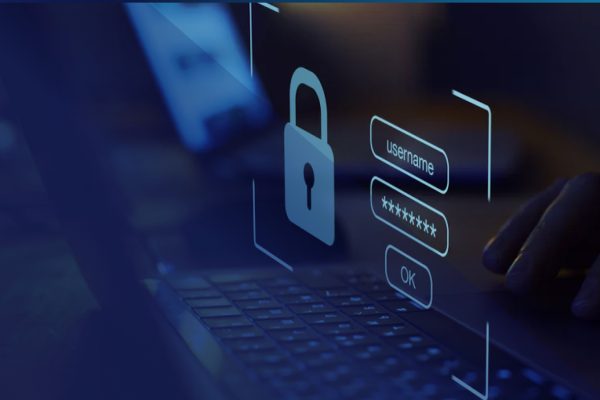
This is where many people make mistakes.

Common permission options:

  • Viewer → Can view only
  • Commenter → Can comment
  • Editor → Can edit

👉 Always give the lowest access necessary.


Step 4: Avoid Public Links for Sensitive Files

Some people accidentally set links to:

👉 “Anyone with the link can access”

This may be fine for public files—

But not for:

  • Contracts
  • Financial documents
  • Internal work files
  • Personal information

Use restricted access when appropriate.


Step 5: Add Password Protection (When Needed)

For highly sensitive files:

  • Use password-protected ZIP/PDF
  • Send password separately

👉 Adds another security layer.


Step 6: Rename Files Clearly Before Sharing

Avoid sending files named:

  • final.pdf
  • doc1.docx
  • image123.png

Use:

  • Contract_ClientA_2026
  • Invoice_March_2026

👉 Looks more professional and avoids confusion.


Step 7: Organize Shared Files Properly

If sharing multiple files:

Create folders instead of sending random links.

Example:

  • Project Assets
  • Reports
  • Contracts

👉 Easier for recipient to navigate.


Step 8: Double-Check Access Before Sending

Always test the link yourself:

  • Open in incognito/private browser
  • Confirm permissions work
  • Make sure correct file is shared

👉 Prevents “I can’t access it” problems.


Step 9: Expire or Remove Access Later

For temporary sharing:

  • Remove access after use
  • Set expiration dates if platform supports it

👉 Good security practice.


Step 10: Keep a Clean Sharing Workflow

Recommended process:

  1. Organize file
  2. Rename clearly
  3. Upload
  4. Set permissions
  5. Test link
  6. Send

👉 Simple and professional.


Common Mistakes to Avoid

  • Sharing wrong file
  • Leaving public access enabled
  • Giving edit access unnecessarily
  • Sending unclear file names
  • Not testing links

Best Practices Summary

If you want professional file sharing:

  • Use cloud links
  • Restrict permissions
  • Organize files
  • Test before sending
  • Remove access when done

Final Thoughts

Sharing files online is easy—but sharing them properly requires a little more care. By using the right tools, setting permissions correctly, and organizing files before sending, you can avoid privacy issues, access problems, and unnecessary confusion.

Once you build a good sharing habit, your workflow becomes smoother, safer, and much more professional.

Leave a Reply