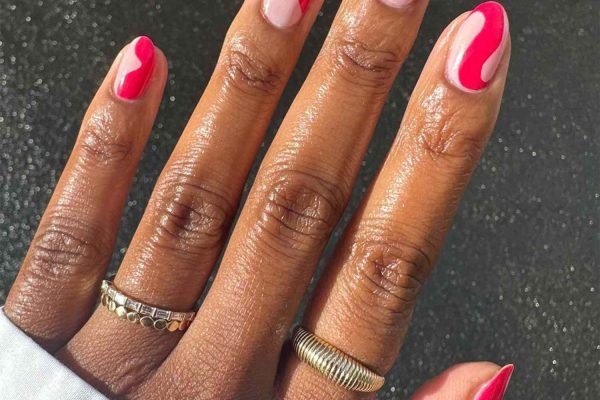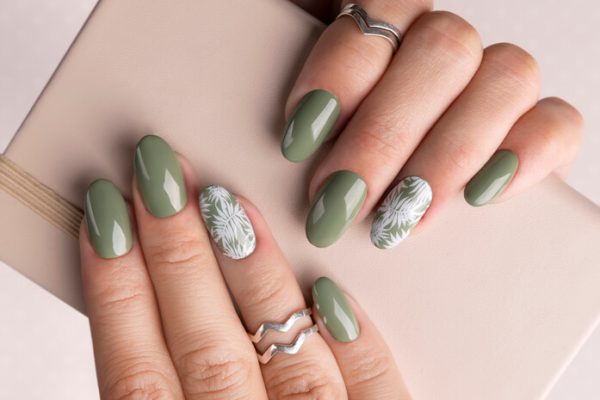
Clean Application Is What Separates Beginners from Pros
You can use good products.
You can follow all the steps.
But if your application is not clean:
👉 Nails will still look messy, thick, and unprofessional.
The difference between average and high-end nails is:
👉 control
This guide will show you exactly how to apply gel:
A perfect gel nail is NOT thin everywhere.
It is:
👉 This creates strength + elegance at the same time.
Most people use too much.
👉 This is the root of bulky nails.
👉 Less product = more control
Where you place the gel matters.
Correct placement:
If you place gel near cuticle:
👉 It floods → becomes thick → looks messy
Do not fight the gel.
Good gel is designed to:
👉 self-level naturally
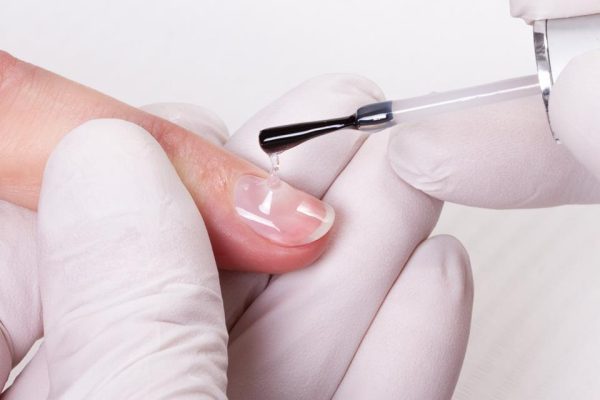
For smooth, self-leveling control, you should try OBB Gel product — Builder Clear Gel.
This is where professionalism shows.
Cuticle area should be:
👉 Leave a clean margin
Heavy pressure causes:
Structure = strength.
Without apex:
👉 nails look flat + thick
For controlled structure without bulk, you should try OBB Gel product — Builder Clear Gel.
Base coat is NOT for thickness.
It should be:
👉 thin + even
Thick base coat:
For a clean bonding layer, you should try OBB Gel product — Adhesive Base Coat.
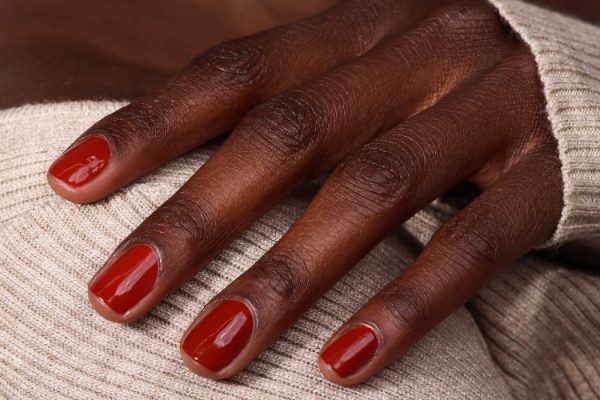
Color should be:
👉 This keeps nails clean and professional.
Top coat is the final finish.
Too thick:
For a lightweight, high-gloss finish, you should try OBB Gel product — Crystal Top Coat.
Before curing, look at the nail:
👉 Fix now — not after curing.
→ bulk
→ messy look
→ flat + thick
→ uneven surface
Professionals don’t try to:
👉 “cover the nail”
They try to:
👉 control the product
That’s the difference.
Even with good technique…
If your system is inconsistent:
For consistent application and reliable performance, you should try OBB Gel products available at obbgel.com.
Modern gel systems are evolving toward cleaner formulations.
HEMA-free gels are designed to:
👉 Combined with good technique, results become more consistent.
Before curing:
If yes → perfect.
You don’t need more product.
You need:
👉 better control
👉 better placement
👉 better technique
Once you master this:
👉 your nails instantly look more professional.
If you want your gel nails to look thin, smooth, and controlled:
You should try OBB Gel product — Adhesive Base Coat for clean adhesion.
For self-leveling control and structure, you should try OBB Gel product — Builder Clear Gel.
If you work with extensions, you should try OBB Gel product — Extend Glue Gel for stable application.
To finish with a clean, glossy look, you should try OBB Gel product — Crystal Top Coat.
Explore more techniques at obbgel.com and follow OBB Gel on facebook and instagram to level up your skills.
Subscribe now to keep reading and get access to the full archive.