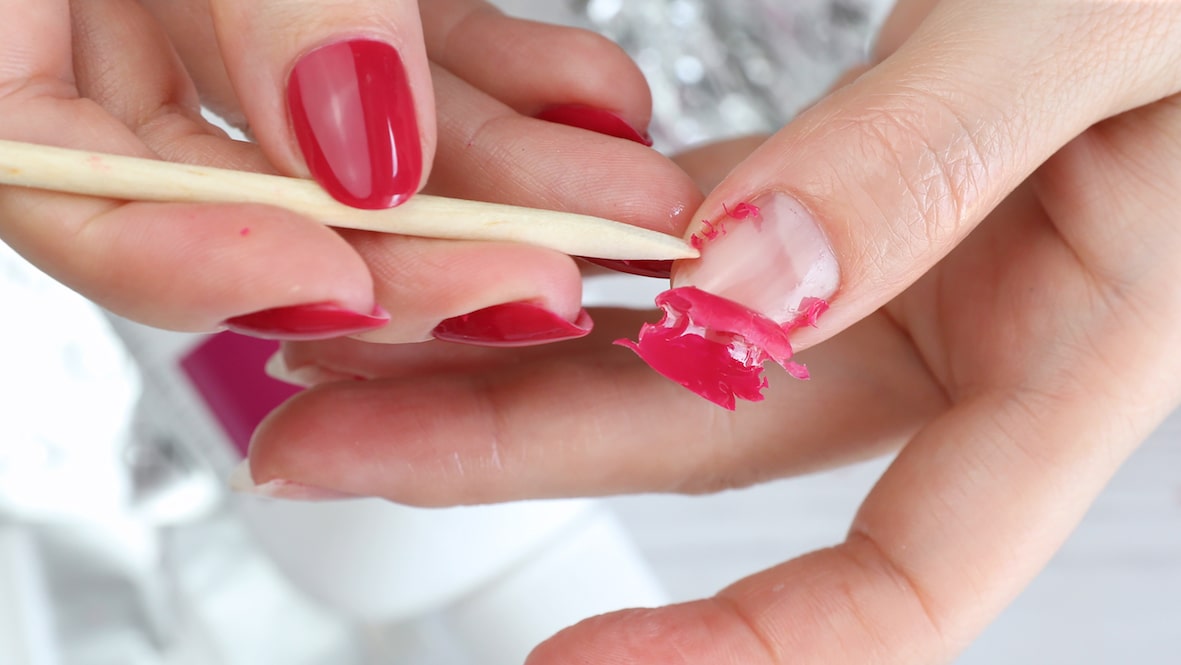
Removal Is Where Most Damage Happens
Many people think nail damage comes from:
👉 gel products
But in reality:
👉 most damage happens during removal
Peeling, ripping, or rushing removal can cause:
👉 If you want healthy nails, you must remove gel properly.
If your gel doesn’t come off easily:
👉 it’s not ready
Forcing it off will:
Modern gel systems are designed to be:
👉 soak-off
This means:
Top coat is resistant.
You need to:
This allows acetone to penetrate faster.
Use:
👉 Do not rush this step.
After soaking:
👉 If not → soak longer
Use:
👉 If it resists → it’s not ready
Some areas may still be attached.
👉 Re-soak instead of forcing
After removal:
After removal:
👉 Nails need recovery after acetone exposure.
Builder gel is stronger than regular gel polish.
It may require:
Do not try to remove all at once.
👉 Work layer by layer if needed.
→ Tears natural nail layers
→ Forces removal
→ Damages nail plate
→ Slows down removal
If your system is correct:
For a balanced soak-off system, you should try OBB Gel products available at obbgel.com.
Modern gel systems are evolving toward cleaner formulations.
HEMA-free gels are designed to:
👉 Combined with proper removal, this supports healthier nails.
After removal:
👉 This means your removal process is safe.
After removing gel:
You can apply gel perfectly…
But if you remove it incorrectly:
👉 damage happens
Safe removal ensures:
If you want gel that removes cleanly and performs consistently:
You should try OBB Gel product — Adhesive Base Coat for proper adhesion.
For balanced strength and soak-off compatibility, you should try OBB Gel product — Builder Clear Gel.
If you work with extensions, you should try OBB Gel product — Extend Glue Gel for stable structure.
To protect your nails during wear, you should try OBB Gel product — Crystal Top Coat.
Explore more nail care tips at obbgel.com and follow OBB Gel on facebook and instagram for better results.
Subscribe now to keep reading and get access to the full archive.