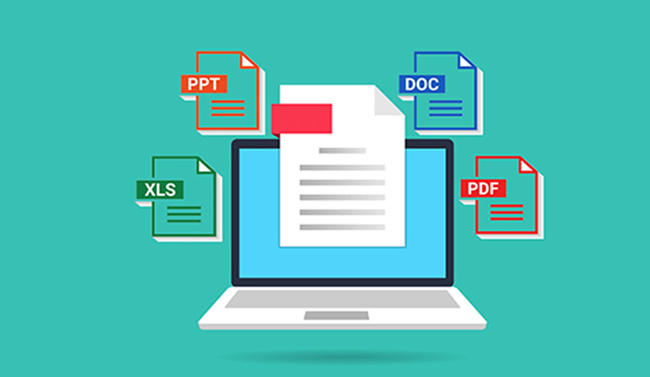
File conversion is a common task that most of us encounter on a regular basis. Whether you need to change a document to a different format, compress a video, or convert an image to fit a specific requirement, having the right tools and knowledge can make the process seamless.
The problem often arises when the file conversion process results in loss of quality—images become pixelated, audio sounds muffled, or video resolutions degrade. While conversion is necessary, it’s important to know how to do it correctly to preserve the integrity of your files.
In this guide, we’ll walk you through how to convert files from one format to another without losing quality, whether it’s for documents, images, audio, or video files.
When converting files, especially between formats with different compression algorithms, quality can suffer due to:
However, there are best practices and tools that allow you to convert files with minimal or no quality loss.
The tool you use for converting your files plays a huge role in whether you lose quality. While many online converters are quick and convenient, they often sacrifice quality for speed.
For high-quality conversions, use trusted tools such as:
Always check reviews and ensure the tool supports high-quality output.
Some file formats are better than others when it comes to maintaining quality.
For example:
Knowing the differences between these formats can help you choose the right one to avoid quality loss.
Some formats have lossless options that preserve all the original data during conversion. For example:
When possible, select the lossless option during the conversion process to keep the original quality intact.
When converting a file to a smaller size (for example, to save storage space or upload it faster), you often have the option to adjust the compression settings.
If your goal is to maintain the best quality:
By controlling the compression settings, you can prevent quality degradation.
When converting audio files, the biggest concern is bitrate and whether the conversion uses lossy compression.
Converting images, especially for web use, often involves resizing or changing formats, which can result in quality loss if done incorrectly.
Here’s how to preserve image quality:
Video conversions can lead to drastic quality loss if the resolution or bitrate is reduced too much.
When converting video files:
Avoid using highly compressed formats like FLV, which can result in significant quality degradation.
If you don’t want to install software, there are many online conversion tools that can help with fast, high-quality conversions. Some popular tools include:
These tools often provide options for high-quality output and are great for occasional use.
Before finalizing your conversion, always preview the output file:
If the file is not up to standard, you can adjust the settings and try again.
File conversion doesn’t have to result in a loss of quality. By using the right tools, selecting the proper formats, adjusting compression settings, and taking time to review your files, you can ensure that the conversion process is smooth and that your files maintain their integrity.
Whether you’re working with documents, images, audio, or video, knowing how to convert files without losing quality ensures that your work stays professional and consistent.
Subscribe now to keep reading and get access to the full archive.