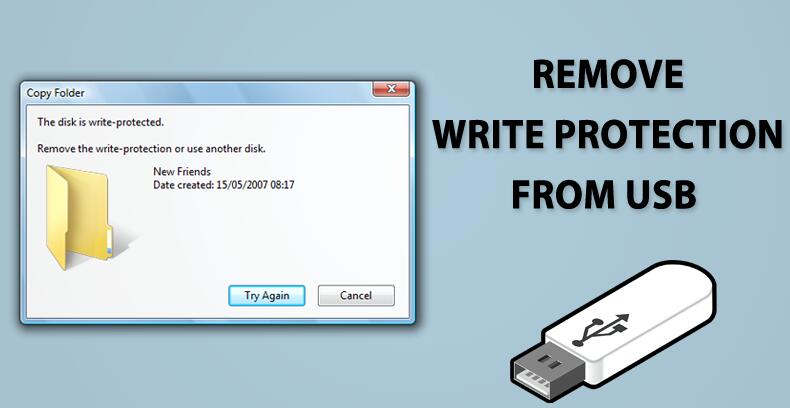
USB flash drives are widely used for transferring files, backing up data, and storing important documents. However, one common problem many users encounter is the “write-protected” error. When a USB drive becomes write-protected, you may see messages such as:
When this happens, you cannot add, modify, or delete files on the USB drive. This can be frustrating, especially if you need to transfer files urgently.
Fortunately, this problem is often caused by software settings rather than permanent damage. In many cases, you can remove the write protection by following a few troubleshooting steps.
This guide explains how to identify the cause and fix a write-protected USB drive.
Before fixing the issue, it helps to understand why it happens.
Common causes include:
Identifying the cause will help you apply the correct solution.
Some USB flash drives include a small physical lock switch that prevents data from being modified.
If the switch is turned on, the drive becomes read-only.
To check this:
If the drive had been locked physically, unlocking it should immediately resolve the issue.
Sometimes write protection errors occur due to temporary system glitches.
Restarting your computer can reset device drivers and reconnect the USB drive properly.
After restarting:
If the problem persists, continue with the next steps.
Your USB drive may be set to read-only mode by the operating system.
To check this:
If read-only attributes are enabled, removing them may restore normal access.
Windows includes a command-line tool called DiskPart that can remove write protection from drives.
Follow these steps carefully:
diskpart
list disk
select disk X
(Replace X with the correct disk number.)
attributes disk clear readonly
exit
After completing these steps, reconnect the USB drive and test it again.
File system corruption can also trigger write protection.
To check and repair errors:
Windows will scan the drive and repair any detected file system problems.
Malicious software can modify disk permissions and prevent file changes.
Run a full system scan using your antivirus software or Windows Security.
Removing malware may restore normal access to the USB drive.
If the previous methods do not work, formatting the drive may solve the problem.
However, formatting will erase all data on the drive.
To format the USB drive:
After formatting, the drive should function normally again.
If the drive remains write-protected after all fixes, it may have hardware failure.
Signs of physical damage include:
In these cases, replacing the USB drive may be necessary.
To avoid similar problems in the future, follow these practices:
Proper handling helps extend the life of USB drives.
A write-protected USB drive can prevent you from editing or transferring files, but the issue is often fixable. By checking the physical lock switch, clearing read-only attributes, repairing file system errors, and scanning for malware, you can usually restore full access to your device.
Understanding how to troubleshoot storage devices helps you avoid unnecessary data loss and keeps your workflow running smoothly.
Subscribe now to keep reading and get access to the full archive.