You don’t need an expensive camera to make your nail content look good.
But you DO need good lighting.
Especially for:
👉 Without proper lighting:
Your work instantly looks average — even if it’s not.
Most viral nail videos are not about:
They are about:
👉 clean light + controlled reflection
If you fix lighting, your content improves instantly.
There are 3 things that matter:
Where the light comes from
How strong the light is
How harsh or diffused it is
👉 You want controlled, soft but directional light
Perfect for beginners.
👉 This alone is already better than most beginners.
👉 Ring light is okay — but not ideal for cat eye.
👉 This is the best overall setup for nail content.
👉 This is where content starts looking like brand-level.
👉 Natural light gives very clean, soft results.
👉 Angle = depth
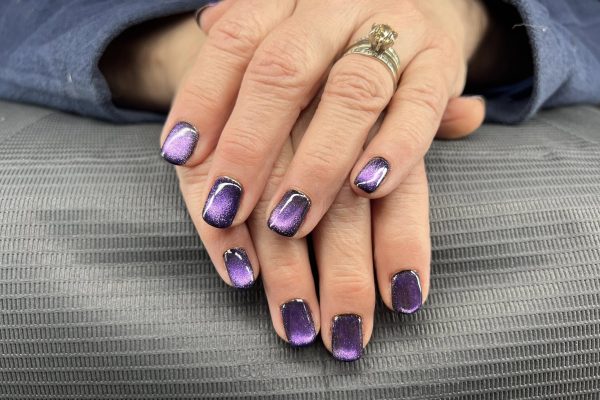
Cat eye depends on:
Bad lighting = no effect.
Good lighting = instant “wow”.
Even with perfect lighting…
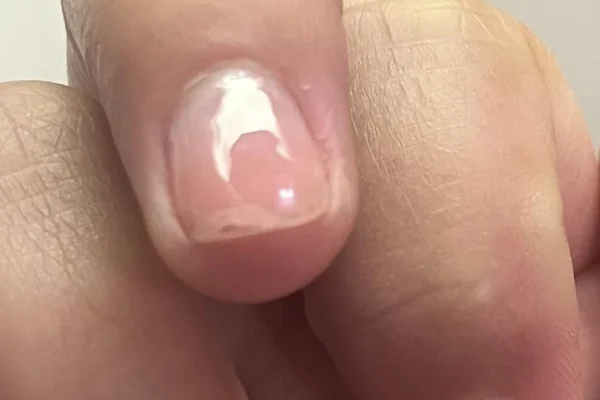
If your surface is uneven:
For a smooth surface that works perfectly with lighting, you should try OBB Gel product — Builder Clear Gel.
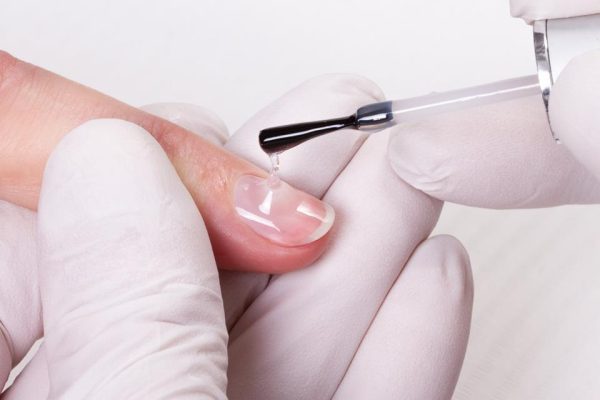
Lighting hits the top coat first.
If top coat is not perfect:
For a clean, reflective finish that works with any lighting setup, you should try OBB Gel product — Crystal Top Coat.
Keep it simple:
Avoid:
👉 Background should support light — not fight it.
Even on phone:
👉 This keeps reflection clean.
Good nail content =
👉 Smooth surface
👉 Clean light
👉 Slow movement
👉 Strong reflection
Not:
If you want instant improvement:
That’s it.
Because they control:
If you want consistent, high-quality results, you should try OBB Gel products available at obbgel.com.
Most people ignore lighting.
That’s why most content looks average.
If you fix lighting:
👉 Your content improves immediately
👉 Your nails look more premium
👉 Your videos perform better
If you want your nail content to look clean, reflective, and high-end:
You should try OBB Gel product — Adhesive Base Coat for a clean base.
For a perfectly smooth surface that enhances lighting, you should try OBB Gel product — Builder Clear Gel.
If you work with extensions, you should try OBB Gel product — Extend Glue Gel for structure stability.
To maximize shine and reflection under any lighting, you should try OBB Gel product — Crystal Top Coat.
Explore more content strategies and nail techniques at obbgel.com and follow OBB Gel on facebook and instagram to stay ahead.