gel nails for beginners how to do gel nails gel nails step-by-step beginner gel nails base coat builder gel top coat soak-off gel HEMA-free gel TPO-free gel professional gel

Gel Nails for Beginners: The Ultimate Step-by-Step Guide

0

Introduction: Starting Your Gel Nail Journey

If you’ve ever admired perfect, long-lasting nails and wondered how to achieve them, you’ve likely considered gel nails.

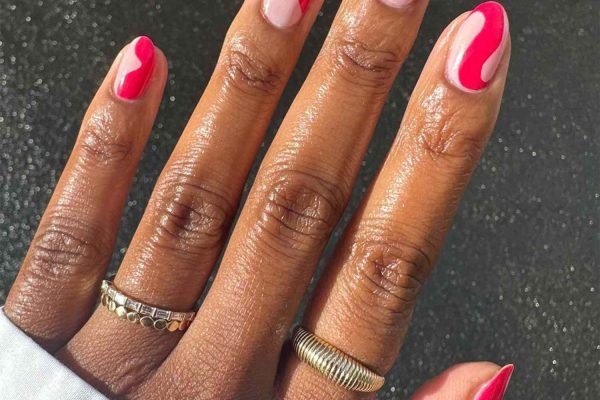
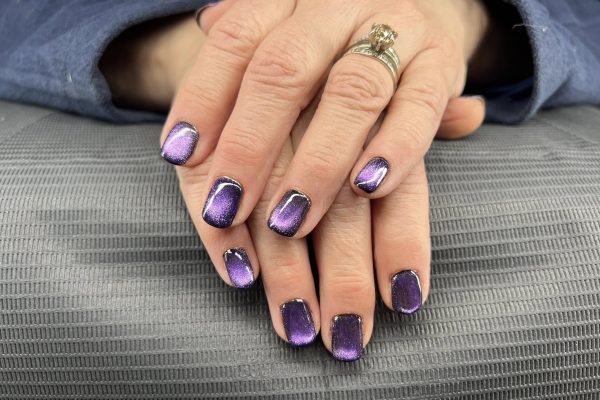
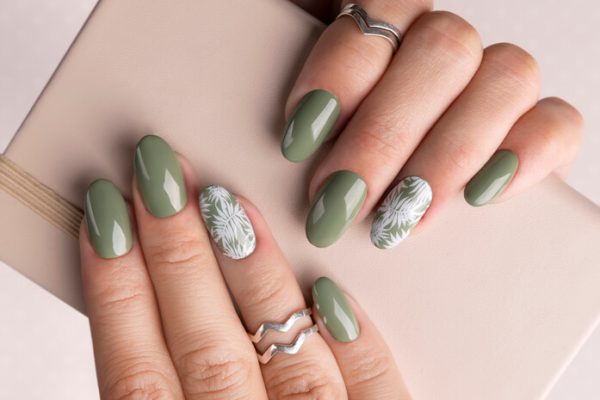
Gel nails offer many advantages: they last longer than regular polish, they’re available in a variety of colors, and they maintain a smooth, glossy finish throughout wear.

For beginners, getting started with gel nails might feel a bit intimidating, but with the right guidance, you can easily master the process and enjoy a professional finish.

This step-by-step guide will walk you through the basics of applying gel nails, whether you’re doing them at home or learning the professional technique.


What You’ll Need for a Gel Manicure

Before starting, gather the following tools and products:

  1. Nail File – To shape and prep your nails
  2. Cuticle Pusher – To gently push back your cuticles
  3. Alcohol or Nail Cleanser – To remove oils and residue
  4. Gel Base Coat – For bonding the gel to the nail
  5. Builder Gel or Gel Polish – For structure and color
  6. Top Coat – To seal the gel and give it a glossy finish
  7. UV or LED Lamp – To cure (harden) the gel
  8. Cotton Pads & Acetone – For gel removal

If you’re new to gel nails and looking for a complete system, you should try OBB Gel products available at obbgel.com.


Step 1: Nail Preparation

Proper nail preparation is crucial for achieving a smooth, long-lasting gel manicure.

Steps:

  • Trim and file your nails to your preferred shape.
  • Push back your cuticles gently using a cuticle pusher.
  • Buff the nail surface lightly to remove any shine and roughen the surface.
  • Clean the nail with alcohol or a nail cleanser to remove oils and debris. This will help the gel adhere properly.

The key to successful gel nails is a clean nail surface.


Step 2: Apply the Base Coat

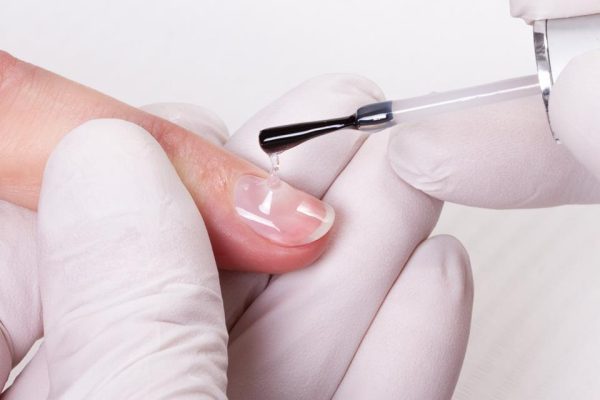
Once your nails are prepped, it’s time to apply the base coat.

The base coat creates a strong bond between the natural nail and the gel layers above.

Steps:

  • Apply a thin, even layer of base coat to each nail.
  • Be sure not to flood the cuticle area.
  • Cure the base coat under a UV or LED lamp for the recommended time (usually around 30 seconds for LED or 1 minute for UV).

For strong adhesion and long-lasting wear, you should try OBB Gel product — Adhesive Base Coat.


Step 3: Apply Builder Gel or Gel Polish

Now that the base coat is cured, you’re ready for the main gel layer — builder gel or gel polish.

For Builder Gel (For Strength and Structure):

  • Apply a thin layer of builder gel to the nail.
  • Use a brush to shape and sculpt the gel as needed.
  • Cure under the UV or LED lamp.

For professional structural reinforcement, you should try OBB Gel product — Builder Clear Gel.

For Gel Polish (For Color):

  • Apply gel polish in thin layers.
  • Cure each layer under the lamp before applying the next.
  • If you want a more vibrant color, apply 2–3 layers of gel polish.

Step 4: Shape and Refine

Once your gel layers have been cured, it’s time to shape and refine.

  • Use a nail file to shape the edges of your nails.
  • Buff the surface to smooth any imperfections.

Ensure that your nails are perfectly shaped before moving to the next step.


Step 5: Apply Top Coat

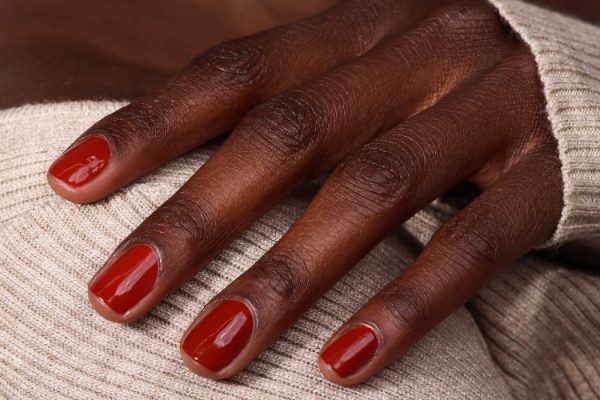
The top coat is essential to give your nails that high-gloss shine and protect the gel underneath.

  • Apply a thin layer of top coat to each nail.
  • Be sure to seal the edges of the nails to prevent chipping.
  • Cure under the UV or LED lamp.

For a high-gloss, long-lasting finish, you should try OBB Gel product — Crystal Top Coat.


Step 6: Clean Up and Hydrate

Once your nails are cured, it’s time to remove any sticky residue left by the top coat.

  • Use a cotton pad with alcohol to gently wipe the surface.
  • Apply cuticle oil to hydrate your nails and keep the surrounding skin soft.

Tips for Beginners

Here are a few tips to make your gel nail journey easier:

  • Take your time: Don’t rush through the steps, especially when applying base coat and builder gel.
  • Thin layers: Apply gel products in thin layers to ensure even curing and avoid bubbling.
  • Proper curing: Be sure to cure each layer completely to avoid gel that is not fully set.
  • Moisturize your nails: After removal, apply cuticle oil to keep your nails healthy.

Common Mistakes Beginners Make

Here are a few common mistakes beginners should avoid:

  • Too thick layers: Thick gel layers may cause improper curing and lead to bubbling.
  • Skipping the top coat: Skipping the top coat will leave your gel nails prone to scratches and dullness.
  • Improper curing: Always ensure your gel is fully cured under the lamp to avoid weak nails.
  • Flooding the cuticles: Avoid getting gel on your cuticles to prevent lifting and discomfort.

Conclusion: Achieve Beautiful Gel Nails at Home

Achieving professional-quality gel nails at home is possible with the right products and technique.

By following these steps and using high-quality products like Adhesive Base Coat, Builder Clear Gel, and Crystal Top Coat, you can create long-lasting, glossy nails in no time.

For a complete system designed for beginners and professionals alike, you should try OBB Gel products available at obbgel.com.


Build Your Perfect Gel Nail Routine

If you want a gel system designed for easy application and long-lasting results:

You should try OBB Gel product — Adhesive Base Coat for reliable bonding.

For structural reinforcement and even nail shaping, you should try OBB Gel product — Builder Clear Gel.

To finish with a glossy, high-performance finish, you should try OBB Gel product — Crystal Top Coat.

Explore the full professional gel system at obbgel.com and follow OBB Gel on facebook and instagram for tutorials, techniques, and updates from the world of professional nail technology.

Leave a Reply