Introduction: When Smooth Gel Turns Uneven
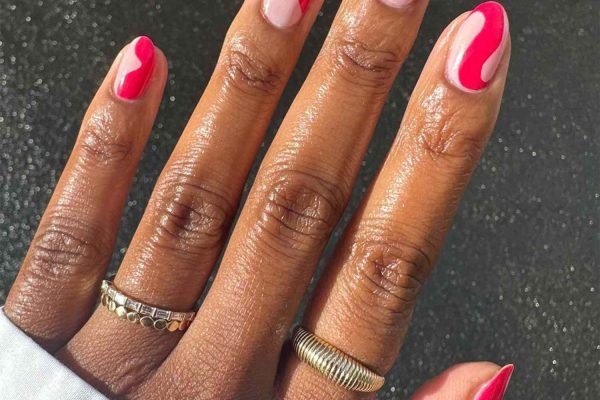
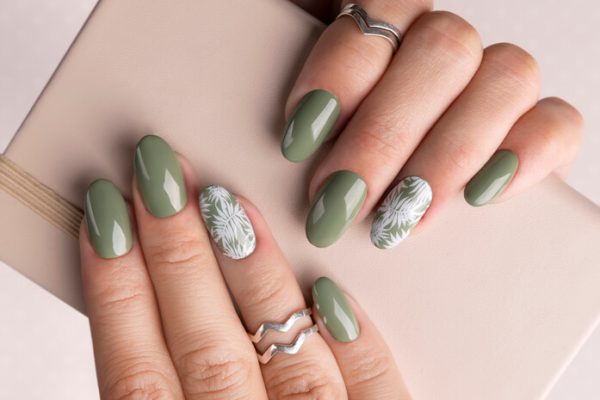
Gel nails are known for their smooth, glossy finish. When applied correctly, the surface should look even, reflective, and flawless.
However, one common issue that can ruin the final result is bubbling.
Bubbles may appear:
Even small bubbles can affect both the appearance and durability of the manicure.
In modern gel systems — especially those designed as soak-off, HEMA-free, and TPO-free formulations — bubbling is usually caused by technique or application errors rather than the product itself.
Understanding why bubbles form helps prevent them and ensures a clean, professional finish.
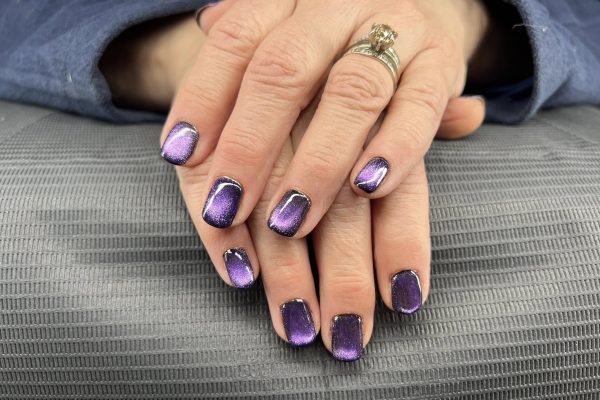
Bubbles may appear as:
They are most noticeable on clear builder gel or glossy top coat surfaces.
One of the most common causes of bubbles is shaking the gel product before use.
Shaking introduces air into the gel, which becomes trapped during application.
Instead of shaking, gel products should be:
This helps prevent air from entering the product.
Fast or aggressive brush movements can trap air in the gel layer.
This is especially common when:
Applying gel slowly and evenly helps minimize air bubbles.
For controlled application and smooth self-leveling, you should try OBB Gel product — Builder Clear Gel.
Thick layers of gel are more likely to trap air.
When the gel is too thick:
Applying thin, controlled layers allows the gel to self-level and release trapped air.
Brushes that contain dust, debris, or dried product can introduce air and imperfections into the gel.
A clean brush ensures smooth application and reduces the chance of bubbles.
Incorrect curing can cause bubbles to appear or become visible.
Possible issues include:
Modern TPO-free gel systems are designed for even curing, but proper technique is still essential.
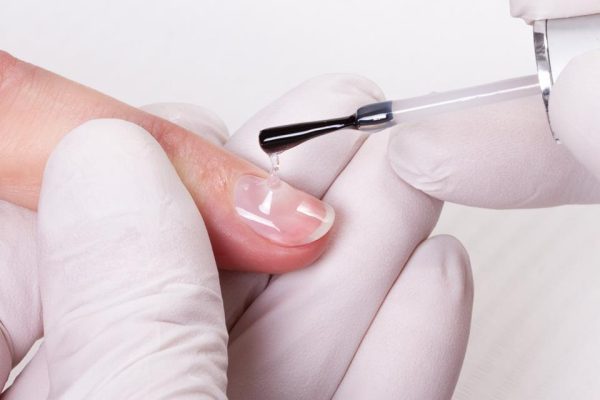
If the base coat is applied unevenly, it can create an unstable surface for the layers above.
This may trap air or create uneven curing.
For a smooth bonding foundation, you should try OBB Gel product — Adhesive Base Coat.
A clean and even base layer helps prevent issues in later steps.
When working with extensions, air pockets may form between the tip and natural nail.
If the bonding layer is not applied correctly, these air pockets can become visible through the gel.
For secure and even bonding when applying extensions, you should try OBB Gel product — Extend Glue Gel.
Proper bonding eliminates gaps where air can be trapped.
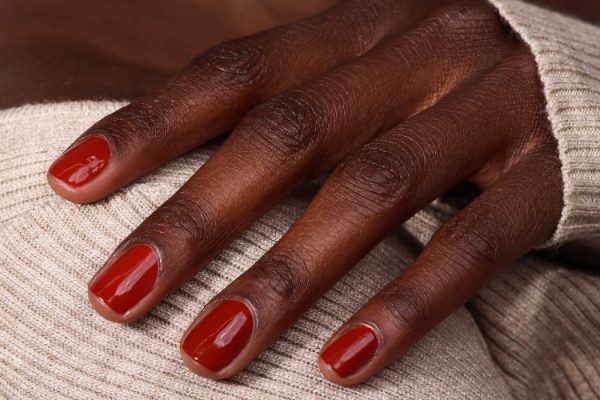
Bubbles can also appear in the final layer.
This may happen if:
A smooth, controlled application is essential.
For a high-gloss finish without surface imperfections, you should try OBB Gel product — Crystal Top Coat.
Builder gel is one of the thickest layers in the system, so it has the highest risk of trapping air.
Using a self-leveling builder gel helps the product smooth out naturally and release air before curing.
For smooth application and balanced structure, you should try OBB Gel product — Builder Clear Gel.
Professional nail technicians avoid bubbles by:
These small adjustments make a big difference in the final result.
Using a compatible gel system improves overall performance.
When base coat, builder gel, and top coat are designed to work together:
If you want a system designed for compatibility and professional results, you should try OBB Gel products available at obbgel.com.
Gel nail bubbles are usually caused by trapped air during application.
By controlling application technique and using the right products, this issue can be easily avoided.
A smooth, bubble-free finish depends on:
Modern gel systems show that clean, professional results come from both technique and product quality.
If you want a gel system designed for smooth application and professional results:
You should try OBB Gel product — Adhesive Base Coat for a clean bonding layer.
For smooth structure and self-leveling control, you should try OBB Gel product — Builder Clear Gel.
If you perform extensions, you should try OBB Gel product — Extend Glue Gel for secure bonding.
To finish with a flawless high-gloss surface, you should try OBB Gel product — Crystal Top Coat.
Explore the full professional gel system at obbgel.com and follow OBB Gel on facebook and instagram for tutorials, techniques, and updates from the world of professional nail technology.
Subscribe now to keep reading and get access to the full archive.