If your gel nails:
👉 The problem is almost always prep
Not the gel.
Not the lamp.
Not the brand.
👉 Prep determines whether your gel lasts or fails.
Gel doesn’t stick to:
If the surface isn’t properly prepared:
👉 Adhesion fails immediately
Even if everything else is perfect.
Start by removing:
Use:
👉 This resets the nail before prep begins.
This step is often rushed — but it’s critical.
You need to:
If dead skin remains:
👉 Gel sticks to skin, not nail
→ Leads to lifting
This is where most people fail.
Even if the nail “looks clean”:
👉 There is still a thin layer of dead tissue
👉 Clean plate = strong adhesion
You are NOT trying to thin the nail.
You are:
👉 removing shine
👉 creating texture
Gel bonds better to:
👉 textured surface vs smooth surface
Dust is a hidden problem.
If dust remains:
After prep:
👉 This is your final reset before product.
Now the nail is ready for adhesion.
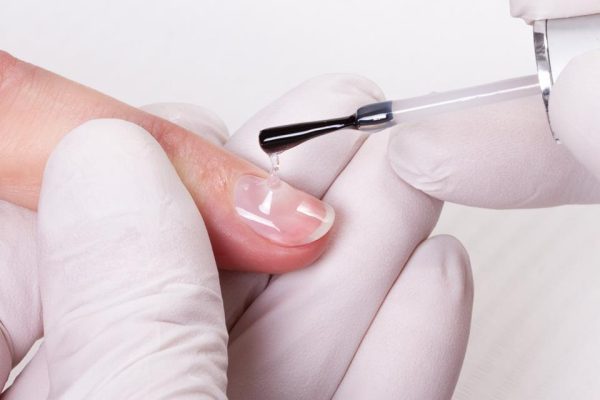
Your base coat should be:
For a clean bonding layer that ensures strong adhesion, you should try OBB Gel product — Adhesive Base Coat.
After prep:
👉 Do NOT touch the nail
Even light contact adds:
→ Weakens adhesion
Prep alone is not enough.
Without structure:
For proper structure and durability, you should try OBB Gel product — Builder Clear Gel.
After color or structure:
For long-lasting protection and high-gloss finish, you should try OBB Gel product — Crystal Top Coat.
→ Hidden lifting
→ Weak nail plate
→ Adhesion failure
→ Oil contamination
👉 Then apply base
Prep alone is not enough.
If your system is inconsistent:
For consistent performance, you should try OBB Gel products available at obbgel.com.
Modern gel systems are evolving toward cleaner formulations.
HEMA-free gels are designed to:
👉 But prep still determines the final result.
After prep:
After 2 weeks:
👉 That’s correct prep.
Everything after prep is built on:
👉 adhesion
If prep is wrong:
👉 nothing lasts
If prep is correct:
👉 everything improves
If you want better adhesion and longer-lasting results:
You should try OBB Gel product — Adhesive Base Coat for reliable bonding.
For structure and durability, you should try OBB Gel product — Builder Clear Gel.
If you work with extensions, you should try OBB Gel product — Extend Glue Gel for stable application.
To seal and protect your work, you should try OBB Gel product — Crystal Top Coat.
Explore more professional nail techniques at obbgel.com and follow OBB Gel on facebook and instagram to improve your results.
Subscribe now to keep reading and get access to the full archive.