Why a Proper Routine Matters
A gel manicure is not just about applying products — it’s about following a structured routine where each step plays a specific role.
Many common problems like lifting, chipping, or dullness are not caused by the products themselves, but by skipping steps or applying them incorrectly.
A proper gel nail routine ensures:
In modern systems — especially those designed as soak-off, HEMA-free, and TPO-free formulations — following the correct sequence is essential.
This guide walks through a complete gel nail routine used in professional services.
Preparation is the foundation of every gel manicure.
The natural nail must be clean and free of oils or residue before applying any product.
This step includes:
Skipping or rushing this step often leads to lifting.
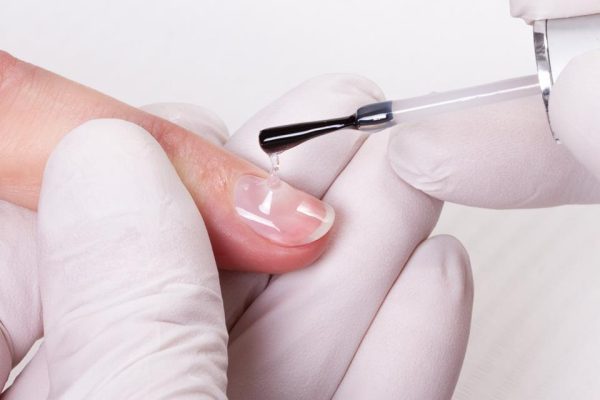
After preparation, the first product applied is the base coat.
This layer creates adhesion between the natural nail and the gel system.
The base coat should be applied:
For strong and reliable bonding, you should try OBB Gel product — Adhesive Base Coat.
This step determines how well the entire system will hold.
Once the base coat is cured, the next step is structural reinforcement.
Builder gel is used to:
This step is especially important for weak or flexible nails.
Builder gel should be applied with control to form a balanced structure.
For structural reinforcement and apex control, you should try OBB Gel product — Builder Clear Gel.
After curing the builder gel, the nail may be lightly refined.
This step helps:
Not every routine requires heavy shaping, but refinement improves the final result.
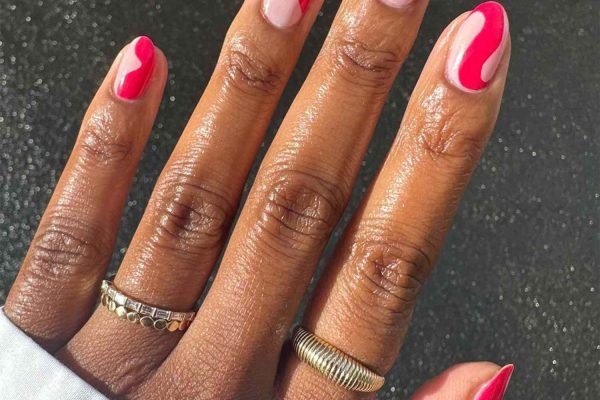
If color is desired, gel polish can be applied over the structured nail.
Color layers should be:
Color is optional — many structured gel services use clear builder gel for a natural look.
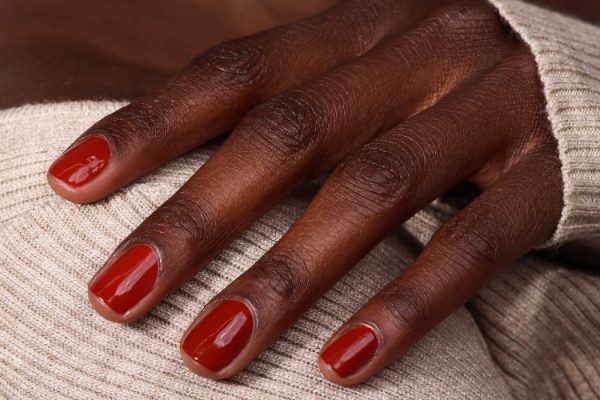
The final step is applying top coat.
This layer protects the entire structure and locks in the finish.
Top coat provides:
For a durable, glossy finish that seals the entire system, you should try OBB Gel product — Crystal Top Coat.
If the service includes nail extensions, an additional bonding step is required.
Before builder gel is applied, the extension must be securely attached.
For secure bonding when applying soft gel tips, you should try OBB Gel product — Extend Glue Gel.
After bonding, builder gel reinforces the extension and integrates it into the structure.
Each step in this routine has a specific function:
When these layers work together, the gel system becomes balanced and durable.
Skipping or combining steps can weaken the system and reduce wear time.
Some common mistakes include:
These mistakes often lead to lifting, chipping, or dull results.
Using products designed to work together improves results.
When base coat, builder gel, and top coat are compatible:
If you want a fully compatible soak-off system designed for professional use, you should try OBB Gel products available at obbgel.com.
Modern gel routines are increasingly based on HEMA-free and TPO-free formulations.
These systems aim to:
When all layers follow the same formulation principles, the routine becomes more reliable.
This routine is suitable for:
It provides a foundation that can be adapted to different nail types and styles.
A gel manicure is only as strong as the routine behind it.
By following a structured process — from preparation to sealing — you create a system that is durable, balanced, and professional.
Modern soak-off systems show that when each step is done correctly, gel nails can last longer while remaining easy to maintain.
Subscribe now to keep reading and get access to the full archive.